Connectors are Exchange configuration objects that define mail flow relationships between mail systems. Exchange Online features inbound connectors (used to receive mail from other organizations or systems) and outbound connectors (used to send mail to other organizations or systems).
Understanding default connectors
By default, Exchange Online has no connectors configured. Inbound mail from the internet is automatically routed to your tenant through Exchange Online Protection based on the domain names configured in your tenant. Outbound mail is relayed directly out through Exchange Online Protection to external recipients. See Figure 11.14.
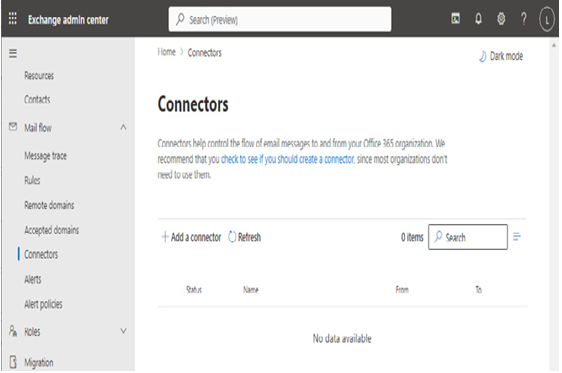
Figure 11.14 – Exchange Online connectors
You can use connectors to manage how mail is received by your organization or how it is sent to others. Common scenarios for configuring connectors may include the following:
• Your organization has non-Exchange mail systems
• You exchange sensitive information via email with known business partners and want to enforce transport-level encryption
• Your organization uses third-party mail hygiene services
• Your organization uses a standalone Exchange Online Protection subscription for message hygiene for on-premises systems and you are not going to configure an Exchange hybrid deployment
• Your organization has on-premises devices or applications that need to send mail to external recipients
If you implement Exchange hybrid in your organization, the HCW automatically creates inbound and outbound connectors in Exchange Online for secure cross-premises mail flow.
Configuring custom connectors
Once you’ve determined that you need a connector, you can use the Exchange admin center or PowerShell to create one.
In this example, we’ll create a custom inbound connector for a fictitious organization that’s using a third-party mail hygiene solution. To create the connector, follow these steps:
- Navigate to the Exchange admin center (https://admin.exchange.microsoft.com). Expand Mail flow and select Connectors.
- Click Add a connector.
Figure 11.15 – Add a connector
- On the New connector page, under Connection from, select Partner organization to create an inbound connector. Click Next.
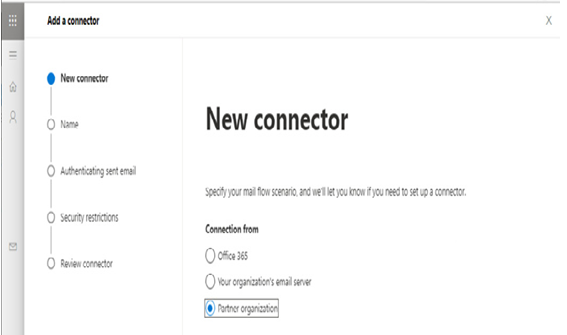
Figure 11.16 – Selecting the connector directionality
- Enter a connector Name and Description and select Turn it on. Click Next.
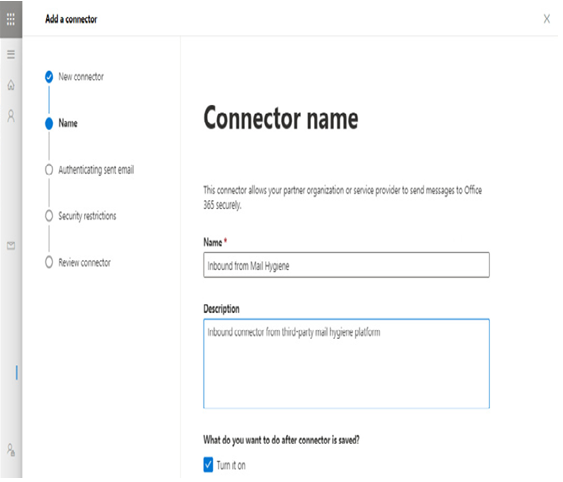
Figure 11.17 – Configuring the connector name
- On the Authenticating sent email page, select a method for determining how mail will get accepted. Select the appropriate radio button, add the necessary values, and click Next:
• If you’re working with a trusted business partner, you can opt to match based on the domain value its server advertises when it connects to Exchange Online
• Most third-party mail hygiene solutions, like we’re configuring in this example, have IP address ranges that mail will be processed through
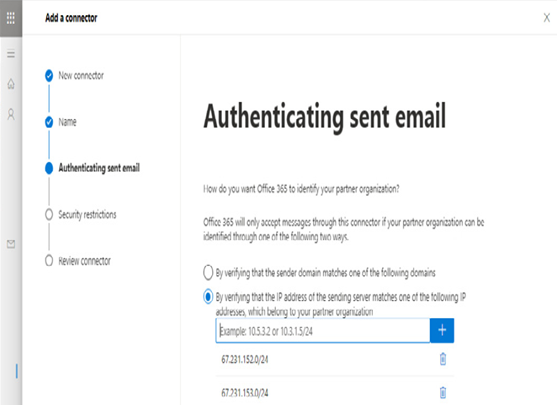
Figure 11.18 – Authenticating sent email
- On the Security restrictions page, choose to enable or disable mandatory TLS. This will depend on whether your partner organization supports SMTP over SSL/TLS. Click Next.
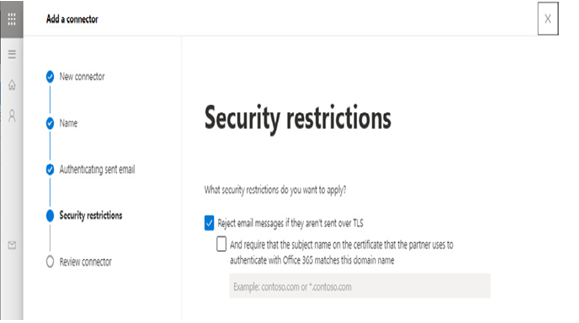
Figure 11.19 – Configuring security restrictions
- Review the configured options and click Create connector.
- Click Done to return to the Connectors page.
Custom outbound connectors follow a similar path, allowing you to configure the remote endpoint or mail host to which Exchange Online will send messages.
FURTHER READING
Microsoft provides a handy guide for determining whether you need to create custom connectors here: https://learn.microsoft.com/en-us/exchange/mail-flow-best-practices/use-connectors-to-configure-mail-flow/do-i-need-to-create-a-connector.