To deploy Azure App Proxy, follow these steps:
- Log in to the Azure portal (https://portal.azure.com).
- In the Search bar, enter app proxy and select App Proxy from the application list.
- Click Download connector service.
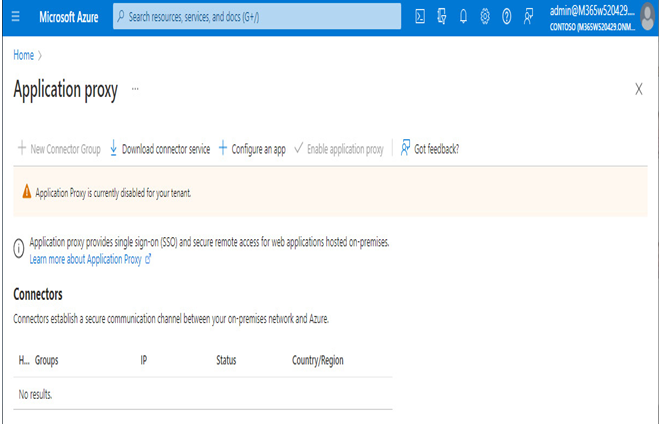
Figure 9.15 – Downloading the Azure App Proxy connector
- Review the system requirements and installation instructions on the flyout.
- Click Accept terms & Download.
- After the file has downloaded, launch it.
- Select I agree to the license terms and conditions and click Install.
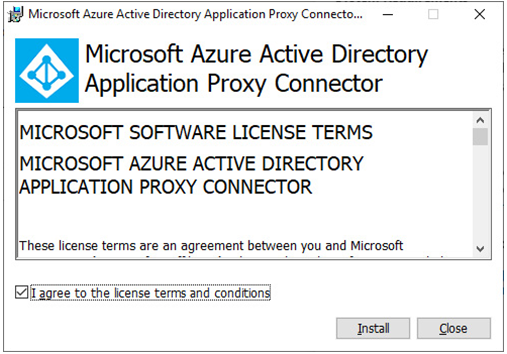
Figure 9.16 – Azure AD App Proxy launch screen
- Enter your account credentials to begin registering the Azure AD App Proxy connector with Azure AD.
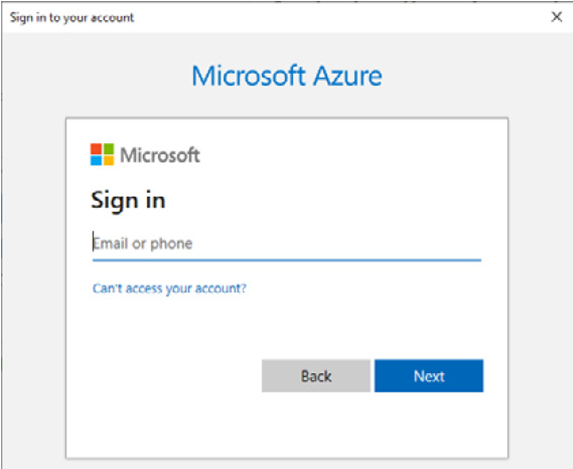
Figure 9.17 – Entering sign-in credentials for Azure AD App Proxy
- When the installation and registration have been completed, click Close.
- Refresh the Application proxy page in the Azure portal and verify that the newly-installed app proxy is working.
Azure AD Application Connectors can be grouped together to form load-balancing and redundancy configurations. You can configure multiple groups to reduce single points of failure and publish applications from a variety of network locations.
For high availability and load balancing, Microsoft recommends installing a minimum of two Azure AD App Proxy connectors in your environment (but preferably three).
Publishing enterprise applications in Azure AD
As you’ve seen throughout this chapter, Azure AD’s capability as an identity provider opens up the ability to use your organization’s identity store to access innumerable resources.
In this section, we’ll dive into features of Azure Active Directory that help you connect your users to applications. We’ll look at two similar features for making applications available:
• Publishing on-premises applications for remote access
• Publishing applications from the app gallery
Let’s go!
Configuring a group
Microsoft recommends, as a best practice, managing application access with a group. By integrating access directly with a group, you can enable features such as access reviews to manage access to the application.
To configure a group, simply log in to either the Microsoft 365 Admin center (https://admin.microsoft.com), expand Teams & groups, and select Active teams and groups. Select the Add a group button and fill in the details accordingly.
You can also do it from the Azure AD portal (https://portal.azure.com) by entering Groups in the search bar and then selecting New group. You can use either security groups or Microsoft 365 groups. In this example, we’ve created two standard security groups: HP Jet Admin Users and one called Salesforce Users. These security groups will be used to manage access to the applications.
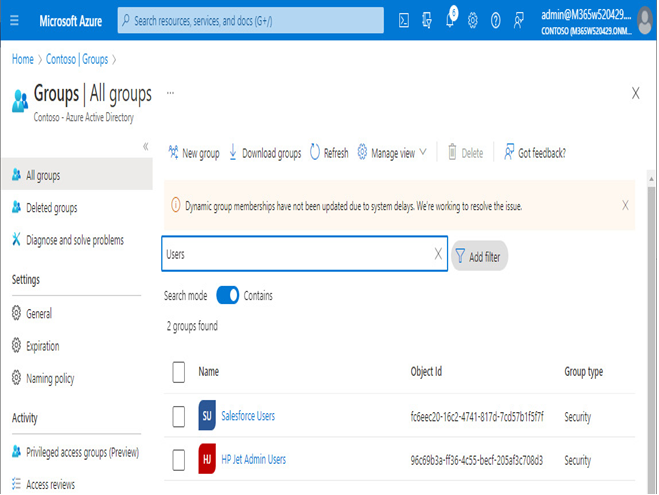
Figure 9.18 – Security groups
Once you have a group created to manage access, you can proceed with configuring the applications.