By default, no security controls have been configured for this application, so all users can launch it. To make it available to only appropriate users, you will want to configure the app’s security.
You can provision access following these steps:
- From the Azure AD portal, navigate to Azure Active Directory | Enterprise applications and select the newly configured application.
- Under Manage, select Users and groups.
- Click Add user/group.
- On the Add Assignment page, under Users and groups, click None Selected.
- On the flyout, choose the users and groups you want to have access to this application.
- Click Assign.
After a few minutes, the newly configured app should show up for users on both the Microsoft My Apps page (https://myapps.microsoft.com) as well as the Microsoft 365 app launcher.
Testing the app
After you have completed the configuration of your application, you may begin working with it. You can test it using the Test Application function in the Azure AD App Proxy configuration: - Navigate to Enterprise applications in the Azure portal (Azure Active Directory | Enterprise applications) and select the app to test.
- Under Manage, select Application proxy.
- In the details pane, select Test Application.
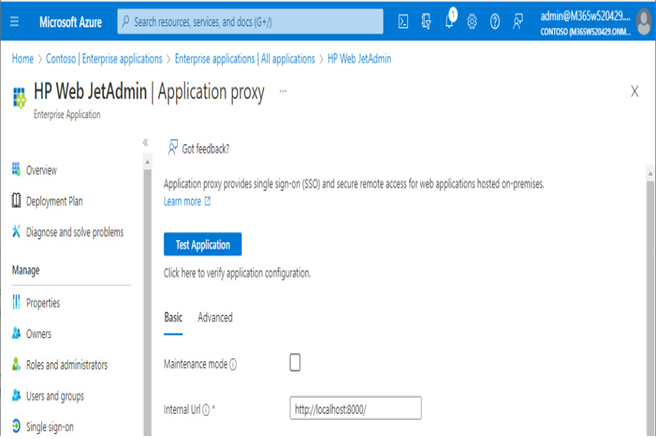
Figure 9.21 – Newly configured application
- On the Test Application Proxy configuration flyout, click Open application.
- Verify that the application can be reached.
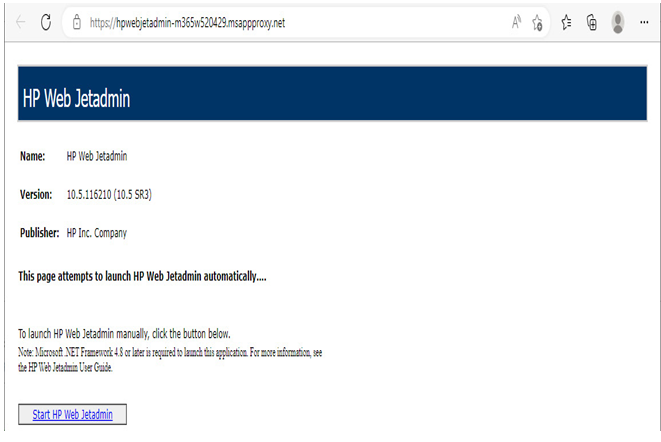
Figure 9.22 – Testing configured web application
- Close the browser window.
Congratulations! You’ve published an on-premises app to Azure AD!
FURTHER READING
Depending on the on-premises application’s design, you may be able to (or need to) choose from a variety of authentication protocols or designs. You can use a variety of Single Sign-on (SSO) authentication methods, such as SAML, Kerberos, header, and password. To learn more about Azure AD App Proxy, head to https://learn.microsoft.com/en-us/azure/active-directory/app-proxy/application-proxy.